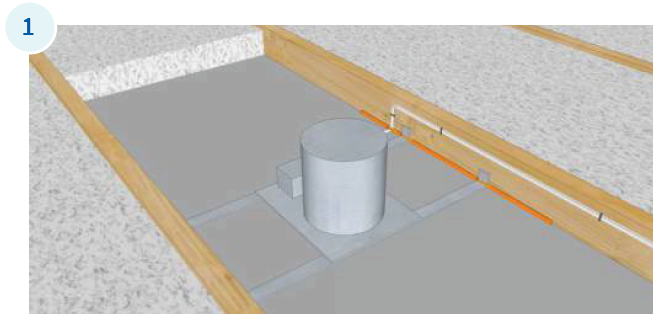
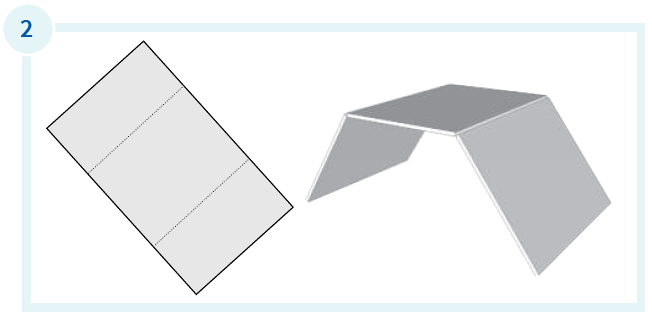
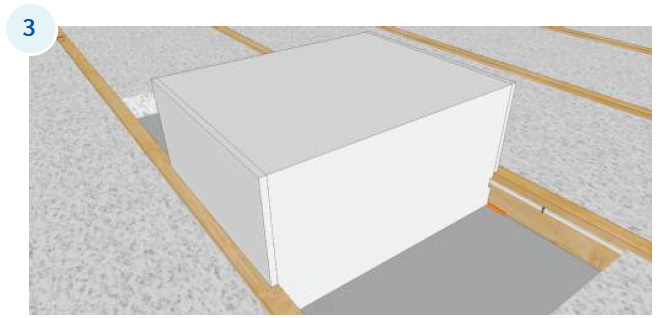
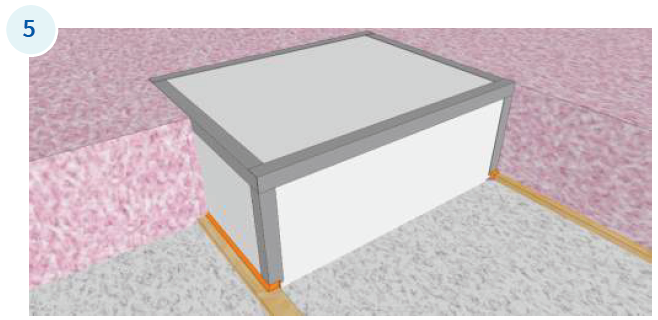
Expose the ceiling finish approximately 12" on both sides of the pot light. Add sealant at the joist-to-gypsum board joint, extending past the ends of the gypsum board box to seal the gap between the joist and drywall (or polyethylene sheet, if present).Create the boxes outside the attic. Precut a piece of drywall 42" long by 22 1/2" wide (for 24" ceiling joist spacing) or 14 1/2" wide (for 16" ceiling joist spacing). Score the back side of the gypsum board at 12" from ends. Break along lines and form an inverted U-shape of gypsum. Cut two gypsum board end closures, 18" long by 8.5" wide.Tape seams of the gypsum board box. Seal the box to the ceiling (or polyethylene sheet, if present) with sealant and fill notches and gaps with sealant. Inspect the box to ensure all gaps and joints are taped/sealed and airtight.Replace the existing insulation around the sides. Insulation should not be placed on top of the box.Alternatively, consider using a manufactured pot light cover, sealing around the edges and at the wire and mounting penetrations with sealant. Ensure the required distances from the pot light housing are maintained within the cover.