Walls
Polyethylene installed on the interior of the building can act as both the vapour retarder and the air barrier.
Sheets of polyethylene (poly) will be installed on the interior of the home after the insulation is in place. It will cover the walls and all exposed ceilings throughout the home. When installing, cover the entire area and fasten to studs, strapping or joists using staples as you go. Make sure that the polyethylene is tightly fastened and that it is flush against the studs and insulation.
Hint: Using dry wall stilts or a long object such as a level can help make the installation process easier. Hanging the poly first without securing within 12" of joints, penetrations, etc. will make it easier to add the sealant later on.
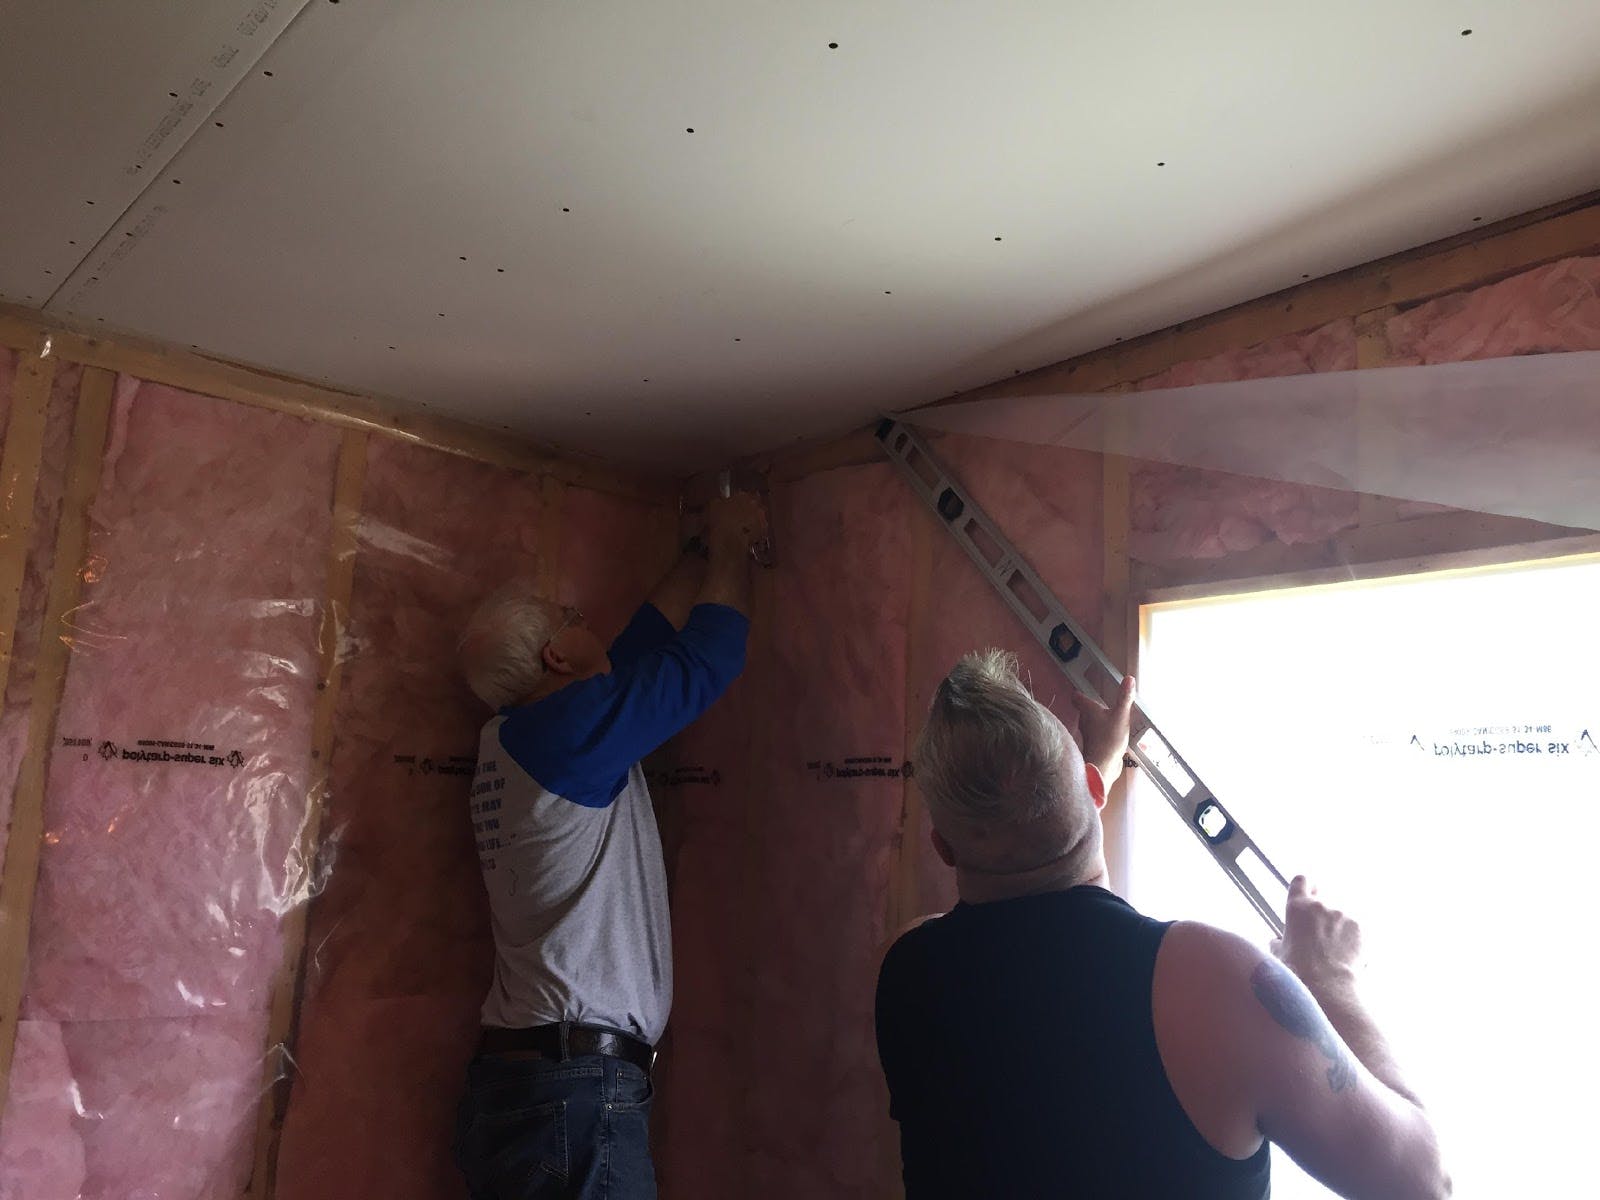
NOTE: In the photo above you will notice the lack of acoustical sealant. The sealant is added after the poly is hung. This makes it easier and far less messy.
When fastening the polyethylene, it is important to start at corners to make sure they are securely fastened on both sides of the corner. When using this method the polyethylene cannot be pulled out. This prevents the creation of a rounded corner which will normally get cut by the drywall installers to aid in installation of the drywall panels. Work from one side of the wall straight to the other, this avoids folds in the polyethylene.

Fasten the polyethylene with staples 12" away from an area where sealant will be required. This includes around windows and exterior doors, as well as the top and bottom plate of the wall. Fastening 12" from the sealant allows for easier placement and positioning of the polyethylene before applying sealant.