Installation Techniques
Faced Insulation
There are three commonly accepted methods of installing faced insulation in wood framing members: pressure fit, face and inset.
Pressure Fit or Friction Fit - No Stapling
Both faced and unfaced batts can be installed by pressure fit or friction fit unless stabilizing is needed - for example, in walls that are higher than 8 ft. It is important that the insulation completely fill the cavity. In walls that are higher than 8 ft, use minimal stapling to hold insulation in place until drywall is installed. To install faced products by pressure fit, gently place the insulation into the cavity space between framing. Make sure the insulation facing is flush with the face of the stud. The insulation must fit snugly at the sides and ends.
Face Stapling
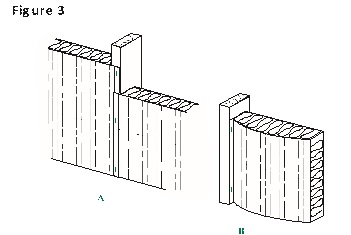
Place the insulation between framing members and check to be sure it fits the cavity at both ends. With facing material flush with the face of the framing,the flanges will overlap the framing. Staple the flanges to the face of the framing,using enough staples to hold the insulation firmly in place and avoid gaps and fishmouths. The flange of the faced insulation placed in the next cavity will overlap the previously stapled flange. (Refer to Figure 3A.) When more than one batt is used in a single cavity,pieces must be snugly butted without gap between them.

Inset Stapling
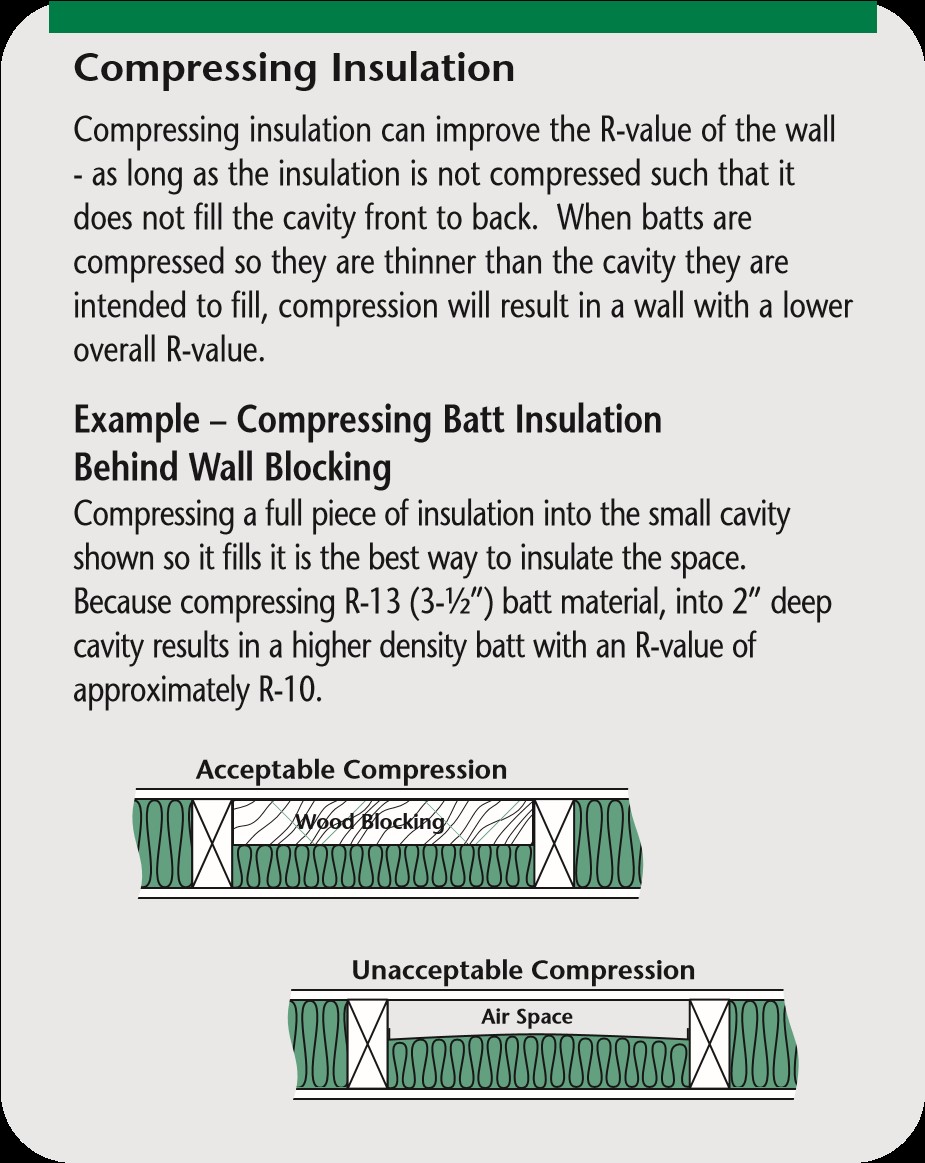
When insulating sidewalls, place the insulation in the cavity and check to be sure it completely fills the cavity, top to bottom. When insulating ceilings, be sure that each batt is butted closely to the next one before fastening. Gently press the insulation at the sides into the framing cavity, usually about 3/4 inch, until the outside edge of the flange is flush with the face of the framing. When inset stapling insulation between inclined or vertical framing members, as in cathedral ceilings or walls, start stapling at the top and work down. Use enough staples to hold the insulation firmly in place and avoid gaps and "fishmouths" between flanges and framing, approximately every sixteen inches. (Refer to Figure 3B.) Remember, compressing insulation to fit a cavity may result in some loss of R-value, therefore don't inset the tabs any further than necessary for stapling. Using denser batts does not require stapling; the batts are held in place by friction. Materials installed in this manner minimize insulation compression. Note: Inset stapling is not permitted in Canada.

Inset or Face Stapling?
Both inset and face stapling are widely used and can provide acceptable performance. Inset stapling is usually preferred by the wall finish trades because it allows adhesive application of wallboard. Most commonly used vapor retarders which come attached to the batts are flammable and can not be left exposed. During construction they should be covered with the interior finish material, such as drywall, as soon as possible. When the ICC codes (International Residential, Building or Energy Conservation Code) require a vapor retarder, batts which are inset stapled meet that requirement. A copy of the ICC code interpretation is available from NAIMA upon request.