Set Up A Remote Desktop Session Host (RDS Host) Host On Windows Server 2012 R2
1. Log in as the administrator to the virtual machine that you prepared as your target RDS host and start the Server Manager tool.
2. Click Add roles and features.

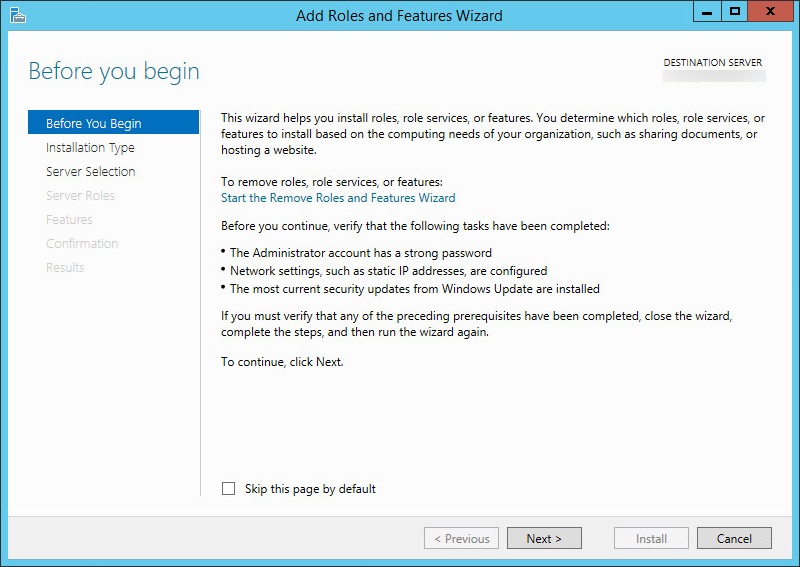
3. To start the Add Roles and Features Wizard, click Next.
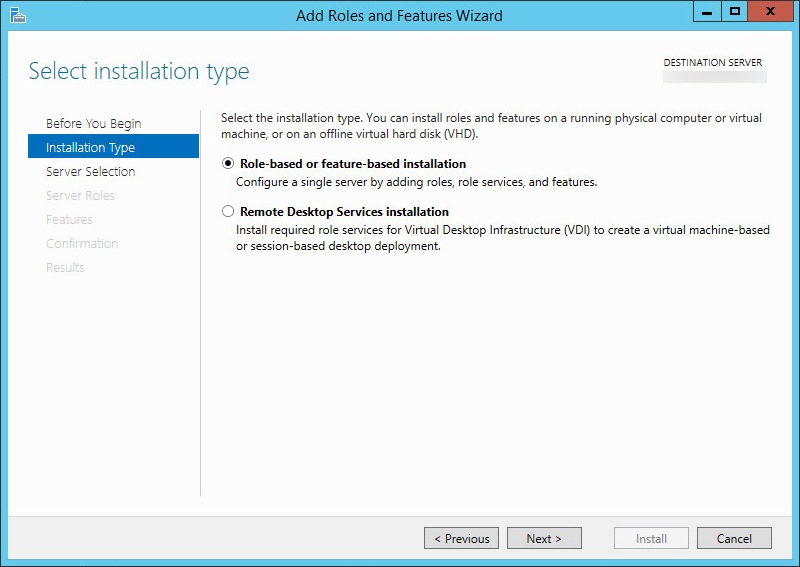
4. To install the RDS role to your server, select Role-based or feature-based installation, and then click Next.
5. Select where to add the role. Because you are installing this role on the server on which you are running the wizard, choose Select a server from the server pool, click the name of the server you are logged in to, and then click Next.

6. In the Roles list, select Remote Desktop Services and click Next.

7. On the Select Features page, accept the default features by clicking Next.

8. Review the Remote Desktop Services role and then click Next.

9. In the Role services list, click Remote Desktop Session Host.

10. The Add Roles and Features Wizard dialog box appears. Click Add Features.

11. The Select role services page appears again with Remote Desktop Session Host highlighted. Click Next.

12. Review your selections, and then click Install. To make changes, click Previous.

13. You can monitor the installation progress. When the installation is complete, you are prompted to manually reboot the system.

14. Do not turn off your computer while the system is completing the installation.

15. When the installation is finished, log in to your system as administrator and launch the Server Manager to confirm that your installation has completed successfully. The Remote Desktop Services role now appears the Server Manager dashboard.
Note: Be sure to properly license your host. See the article on RD Session Host Licensing at http://technet.microsoft.com/en-us/library/cc7544...

You have successfully configured your RDS host. The next step is to install View Agent on the RDS host.